Cheap indoor cycling: build a setup you can afford to keep using
Build a budget indoor cycling setup by reusing equipment, checking used trainers and comparing the full cost of hardware, accessories and app subscriptions.
The cheapest way to start indoor cycling is usually to reuse a bike or exercise bike you already own, add only the equipment needed to ride it safely, and postpone a paid app until you know what you want from it. If you want automatic hills or power controlled workouts, price a compatible smart trainer and screen together before buying either.
A low trainer price is only the beginning. Missing adapters, an unsuitable laptop and a subscription you barely use can erase the saving. This guide compares complete setups and gives you a budget worksheet. The examples are planning exercises, not advertised deals or claims that we have tested every trainer. Everycol publishes this guide. Our app is free; your hardware budget depends on what you already own.
Choose the least expensive path that does your job
“Cheap” has to include the starting point. A trainer can be good value for someone who already owns a suitable bike and expensive for someone who needs the bike as well. Likewise, buying sensors for an old trainer makes sense only if that combination delivers the app experience you want.
Zwift supports speed sensors with classic trainers, but estimated power is different from measured power. A sensor does not add an electronically controlled brake. Check the exact trainer, sensor and device requirements before using this route as your budget plan.
| What you already have | A practical starting point | What you give up |
|---|---|---|
| An exercise bike that fits you | Use its existing resistance controls and a timer. | Connected app riding requires compatible data; a screen or Bluetooth logo does not establish it. |
| A compatible outdoor bike | Consider a basic wheel on trainer for riding without automatic resistance. | You manage effort yourself; app power estimates need a specifically supported trainer and sensor. |
| A bike and a supported phone or computer | Compare a compatible used, refurbished or entry level smart trainer as a complete package. | It costs more to start, but can provide power data and automatic resistance with a supported app. |
| No bike or suitable screen | Compare a basic exercise bike with the entire bike, trainer and device package. | A cheap exercise bike may not support the virtual riding or workout control you later want. |
Write down the first year cost before the checkout price
Use this calculation: bike and trainer purchases + missing compatibility parts + essential room equipment + software for the months you will use it + expected maintenance. Put zero beside things you already own and can actually use. Keep repairs you already owe your outdoor bike separate so you can see which costs belong to the indoor purchase.
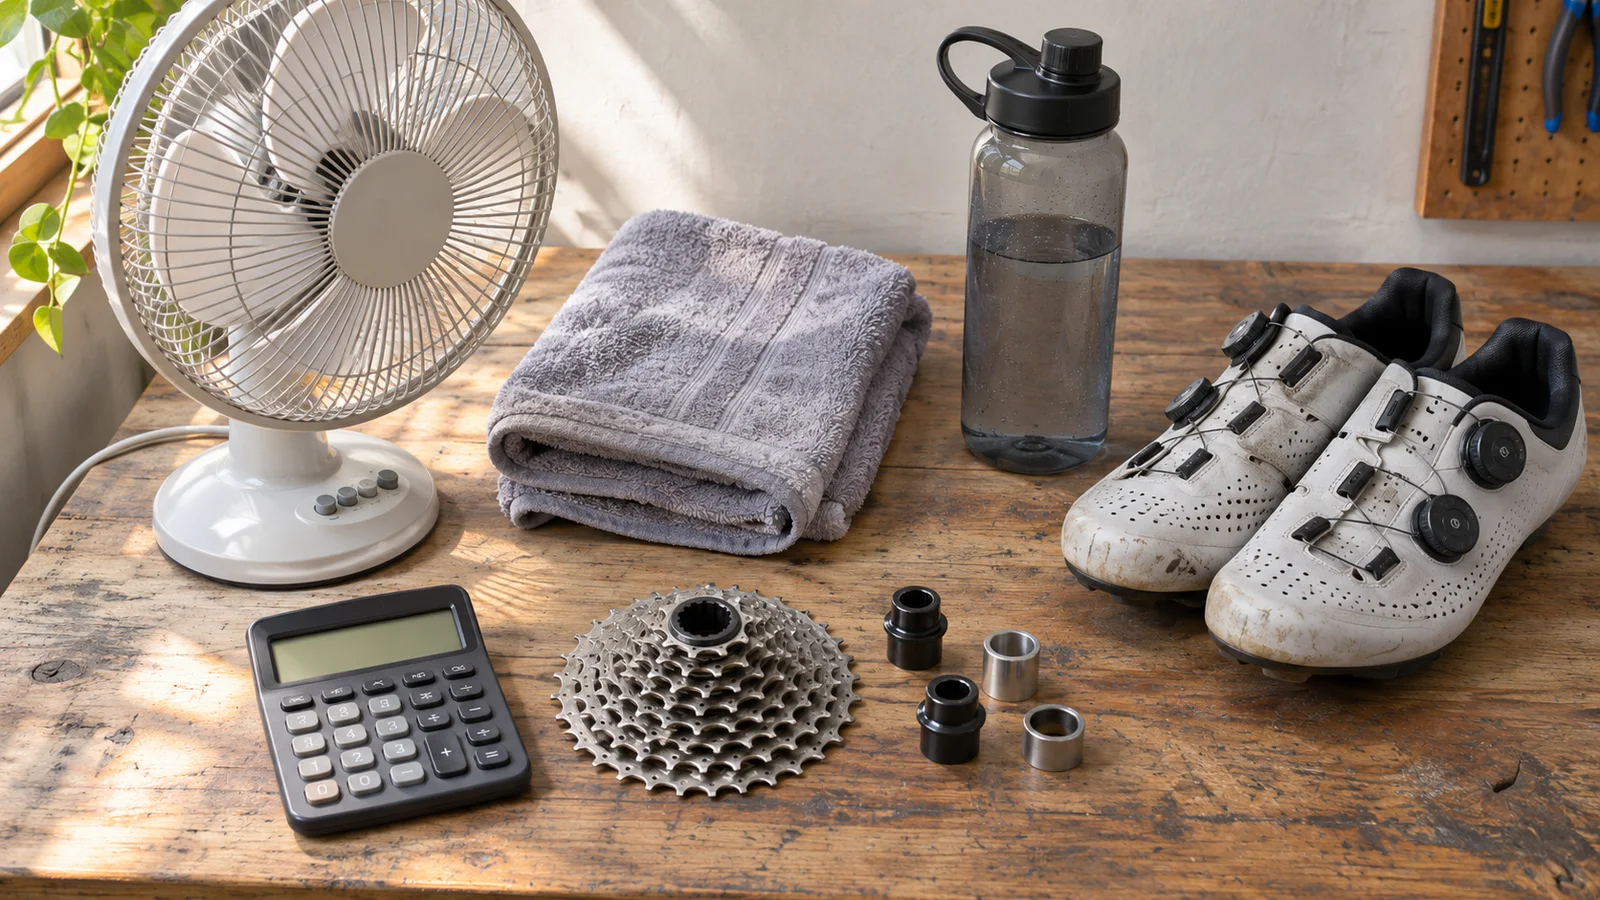
Here is deliberately hypothetical arithmetic in US dollars. Both options reuse a compatible bike and screen and assume no other repair costs. Add those purchases if you need them. These figures are not current market prices, quotes or recommended spending targets. Replace every number with a real local quote, including tax and delivery.
In the example below, the $100 difference on the listing becomes $10 after the missing parts. That does not make Option B the winner: its condition and compatibility still need checking. It shows why two asking prices cannot settle the comparison. If both setups work with software whose included features meet your needs at no cost, remove the same $90 from both columns.
| Illustrative expense | Option A | Option B |
|---|---|---|
| Trainer asking price | $200 | $300 |
| Missing cassette, adapters or servicing | $90 | $0 |
| Room equipment still needed | $40 | $40 |
| Software for six months, at an assumed $15 per month | $90 | $90 |
| Illustrative first year total | $420 | $430 |
Spend on a usable room before buying specialist accessories
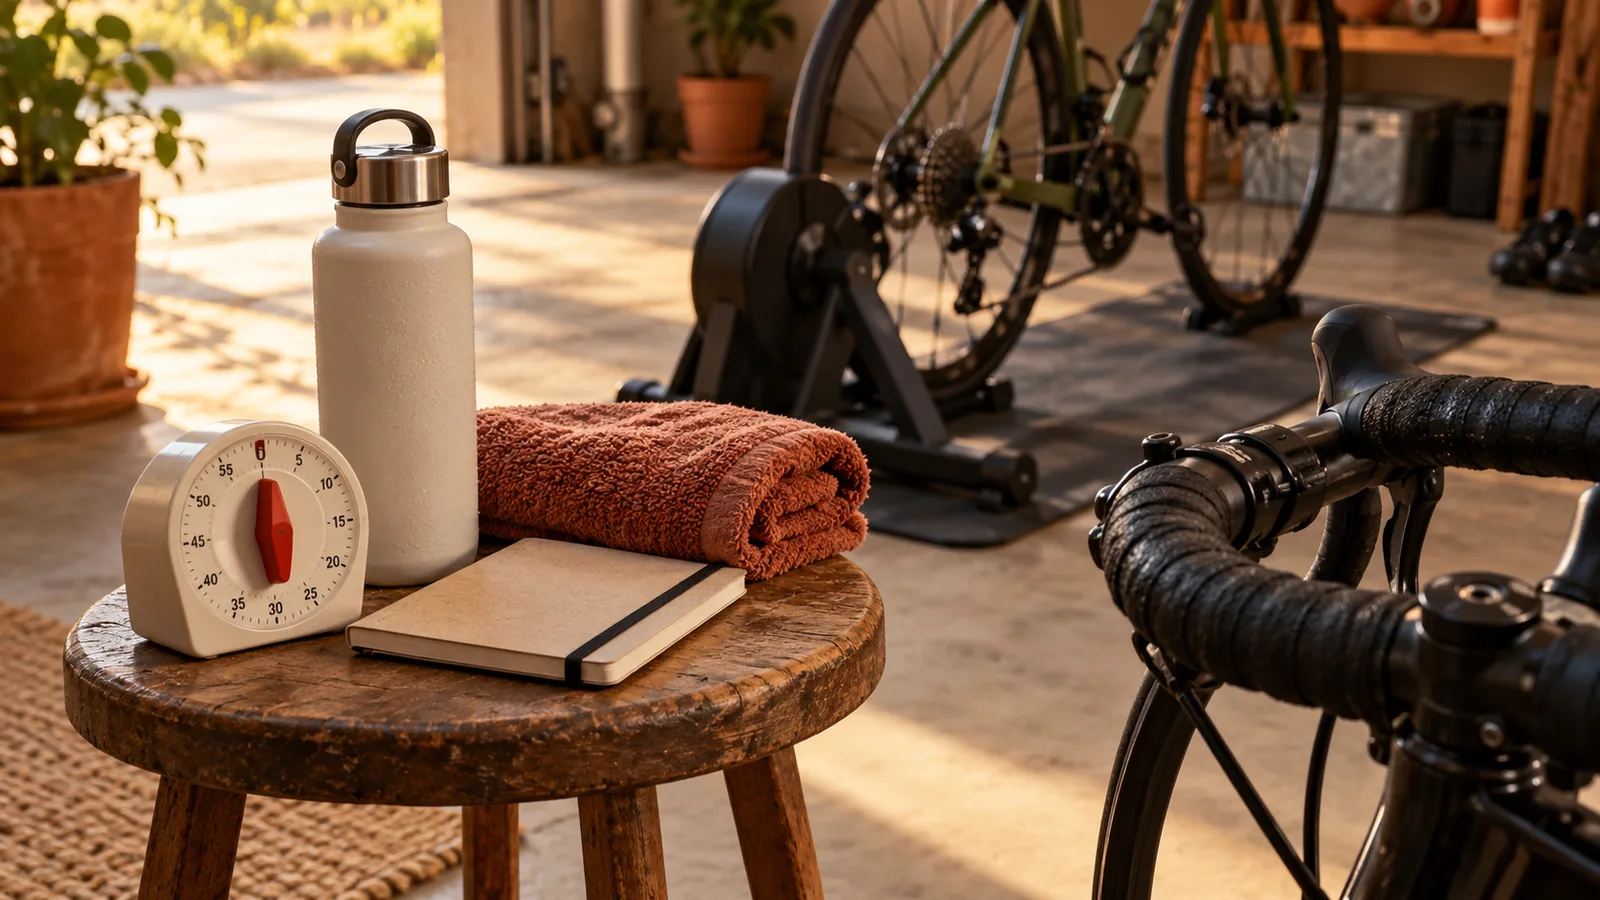
Try a household fan you already have. Use an existing sturdy table or shelf if it places the screen and controls comfortably within reach. Bring your usual bottle and towel. You can evaluate those arrangements during a short ride before deciding that you need a cycling branded version.
Protect the floor appropriately and keep the bike on a firm, level surface. A thick cushion is not a substitute for stable trainer feet. Leave room to get on and off, keep cables away from moving parts, and test noise with the people who share your home. A mat may help protect a floor; it is not a promise of silence downstairs.
Budget for comfort and convenience because they affect whether the setup gets used. If every session requires moving a desk and reconnecting a television, solve that friction before upgrading a power specification you rarely approach.
Find the missing parts while the trainer is still in the shop
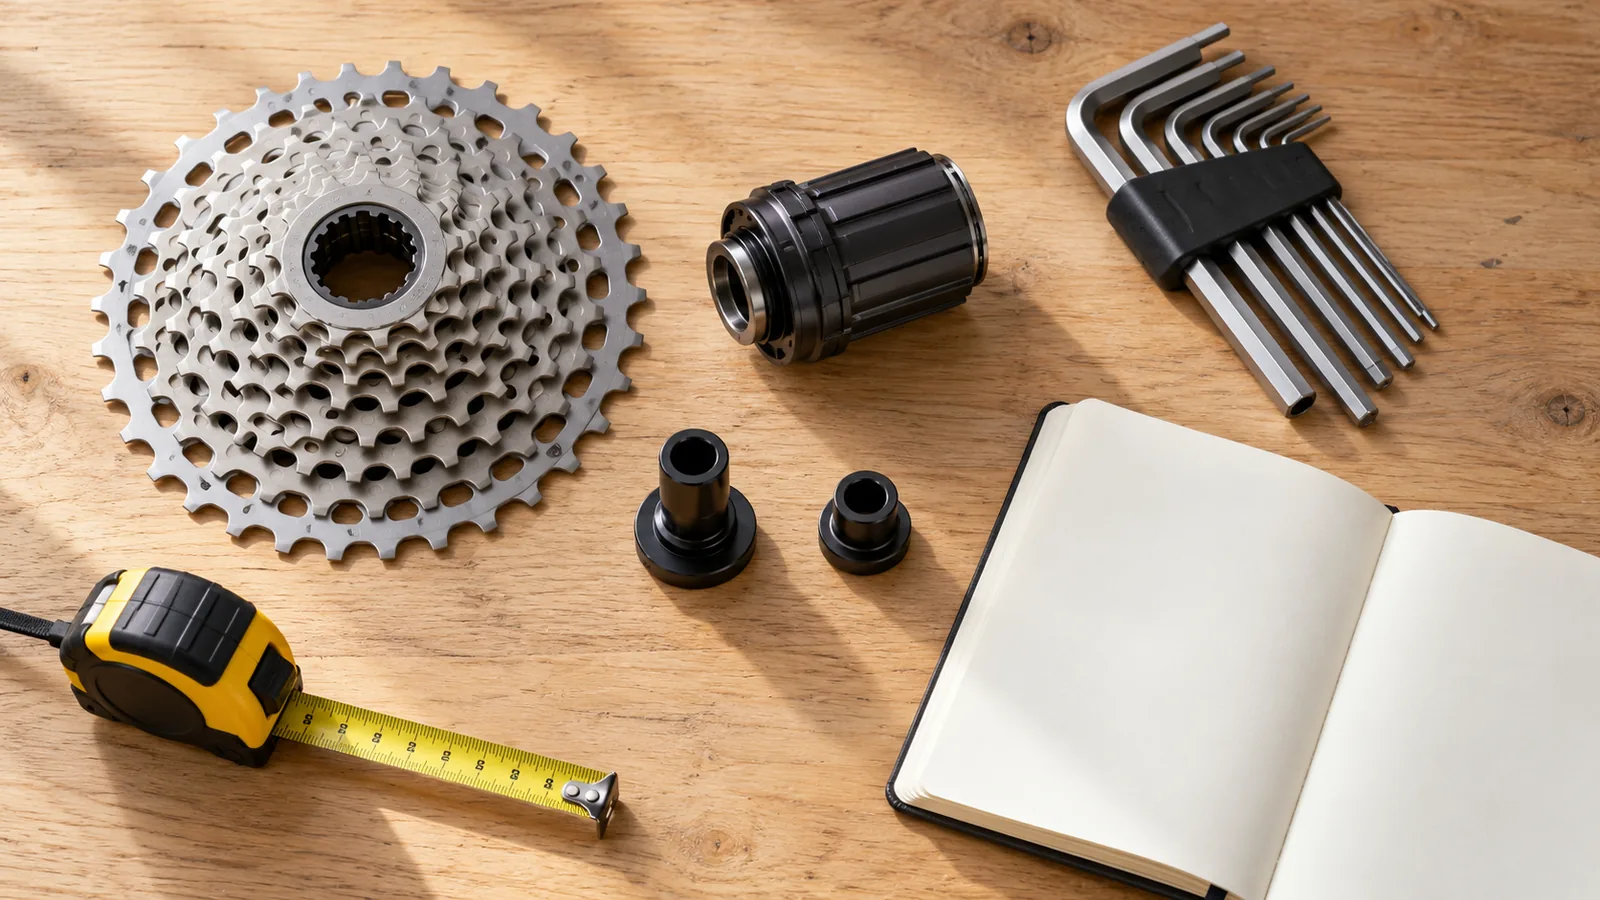
For a direct drive trainer, record your bike model and year, axle standard, cassette and drivetrain. Check both the frame and drivetrain guidance. Wahoo, for example, separates frame compatibility from cassette, tooth range and freehub compatibility. A trainer supplied with a cassette does not necessarily contain the cassette your bike needs.
Ask the seller for a complete list of included parts. Price any required axle adapters, freehub, cassette, tools and installation work. With a wheel on trainer, check the mounting hardware, wheel and tire requirements instead. Follow the exact model’s instructions; improvised washers or a nearly fitting axle are not a sensible economy.
If the bundle includes a single sprocket and virtual shifting controls, verify support in your intended app. Power reception, trainer control and virtual shifting are different capabilities. A saving that forces an unwanted subscription or a later cassette conversion needs to appear in the budget.
A used trainer should earn its discount
Buying used can reduce the initial outlay, but the model name is not enough. Different generations can have different adapters and connection features. Wahoo publishes a part number guide for identifying its trainers; use the equivalent manufacturer information for another brand. Ask about known faults and check the current support and spare parts situation.
When a demonstration is possible, arrange it before paying. Use a compatible, correctly mounted bike and test the functions you intend to buy. A trainer appearing in a Bluetooth list establishes much less than a ride with changing power and controllable resistance.
If you cannot inspect or test it, account for that uncertainty. Compare the total with a refurbished or new unit under its actual sale terms. A small saving can be poor value if it leaves no room for a missing part or repair.
- Match the model and generation to the listing, then confirm the specified power supply and mounting parts are included.
- Inspect the frame, feet, mounting points and accessible parts for damage, corrosion or missing hardware.
- Pedal gently and listen for unexpected rubbing, knocking or drivetrain skipping.
- Confirm live readings and, for a smart trainer, a change in resistance in a supported app.
- Ask what proof of purchase, return options or manufacturer support applies to this sale; do not assume a warranty transfers.
Choose software after checking what is already included
A smart trainer does not automatically require a scenery subscription. Wahoo lists free device connection and basic recording, and documents resistance control for supported trainers. MyWhoosh offers free riding, while custom workout and plan creation has limited free slots and optional paid features. Check device requirements as carefully as the membership: free software does not fix an incompatible computer.
For paid software, compare the actual months you expect to ride with the full annual commitment. An annual plan’s advertised monthly equivalent is not a monthly cancellation option. Include the renewal after any introductory offer. Start one trial when you have time to ride and evaluate it, rather than starting several while the trainer is still in its box.
Everycol is a free browser riding app. Connected riding requires a supported Bluetooth desktop using Chrome or Edge, with FTMS or supported Tacx FE-C over Bluetooth. Speed sensor only setups, ANT+ USB adapters and Zwift Click shifting are not implemented; normal bike gearing is used for route simulation.
Let the first few rides tell you what to upgrade
Postpone the large display, dedicated trainer desk, steering controls and decorative room upgrades. They may become useful, but none answers the first question: can you ride comfortably on equipment that works together? Keep a short list of recurring annoyances. Upgrade the item that solves one of those, rather than the item in the most impressive setup photograph.
Do not postpone necessary repairs, correct mounting hardware or a stable screen support. Saving money works best when you remove purchases that do not help you ride, while keeping the parts that make the setup usable. Once the equipment is chosen, use the first ride checklist to assemble and test it.
Your questions, answered
What is the cheapest way to start indoor cycling?
Start with equipment you already own. A suitable exercise bike can be used with its existing controls; an outdoor bike needs a compatible trainer. If you want connected apps, include the required sensors, screen and software before comparing the total.
Is a cheap basic trainer enough for Zwift?
A supported classic trainer with a compatible speed sensor can provide estimated power in Zwift. Check its exact requirements. This does not provide automatic resistance, and the estimate is not measured power.
Can I avoid a monthly indoor cycling subscription?
Often, yes. Check basic controls in your trainer’s manufacturer app and free riding platforms. A free trial expires; it is different from ongoing free access. Hardware and device compatibility still apply.
Should I buy a used smart trainer or a new basic trainer?
Compare complete compatible setups. A used smart trainer is worth considering when you need power and control, can check its condition and can obtain missing parts. A basic trainer can be enough when you want to pedal with manual resistance and do not need those features.
Sources & useful reading
For compatibility and changing product details, go straight to the source.
- Wahoo: bike frame compatibility and installation checks
- Wahoo: cassette, drivetrain and freehub compatibility
- Wahoo: identifying the exact trainer generation
- Zwift: connecting power, speed and resistance devices
- Zwift: estimated power with a classic trainer
- Wahoo: free app features and paid membership tiers
- Wahoo: trainer control modes in its app
- MyWhoosh: membership fees
- MyWhoosh: free custom workout slots