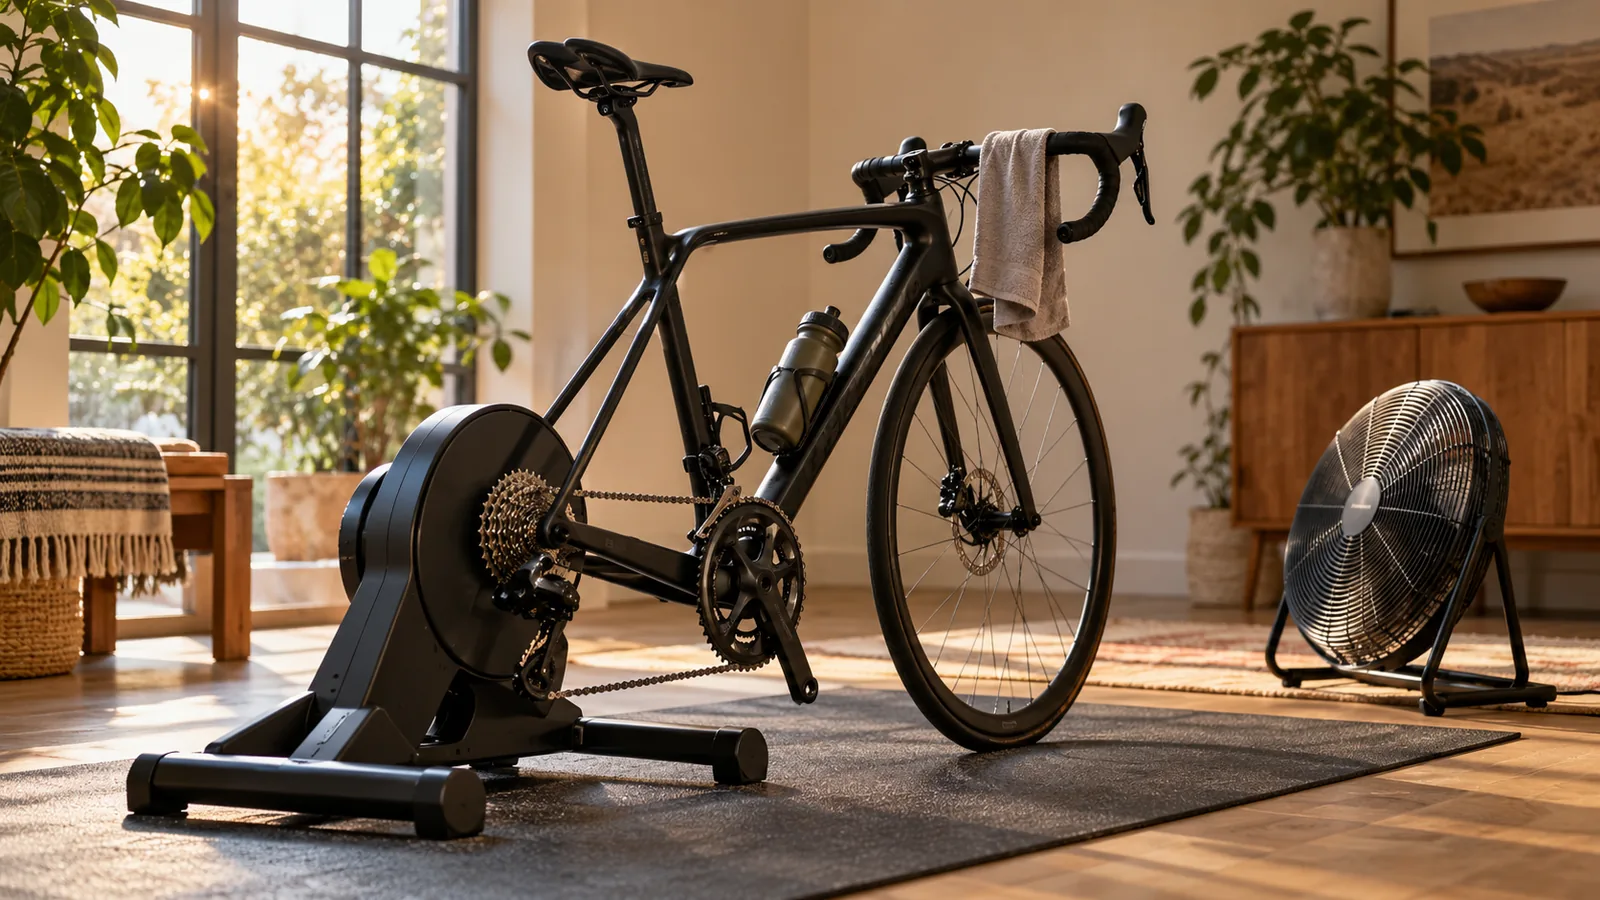
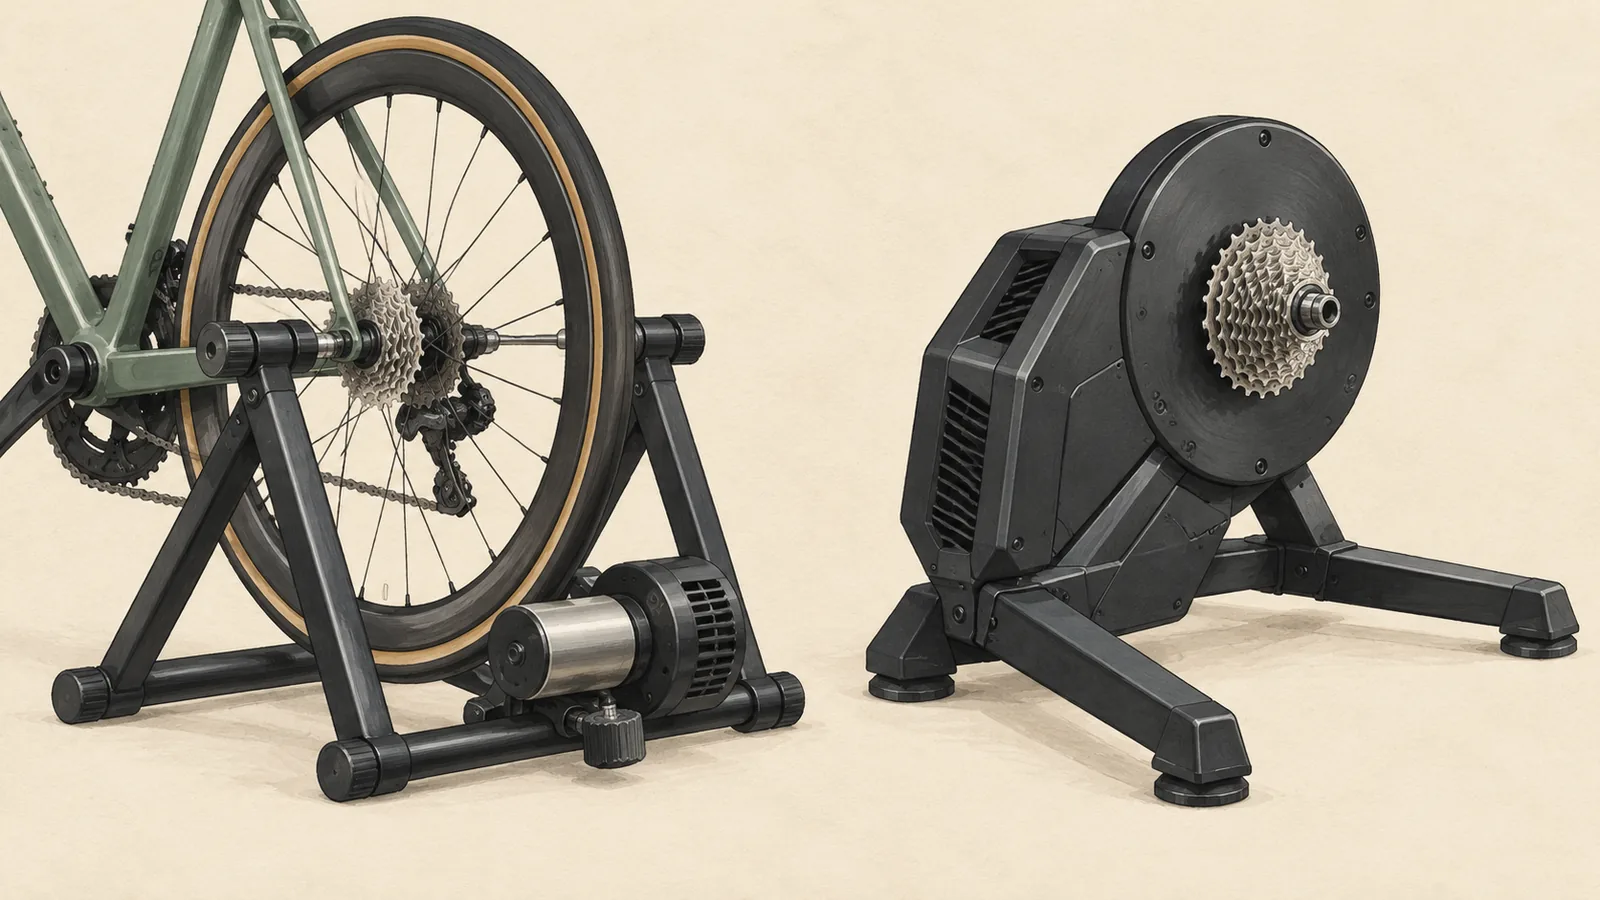
An indoor cycling setup for a small space
Build an indoor cycling setup that fits an apartment or shared room, with practical plans for bike clearance, cooling, storage, screens and noise.
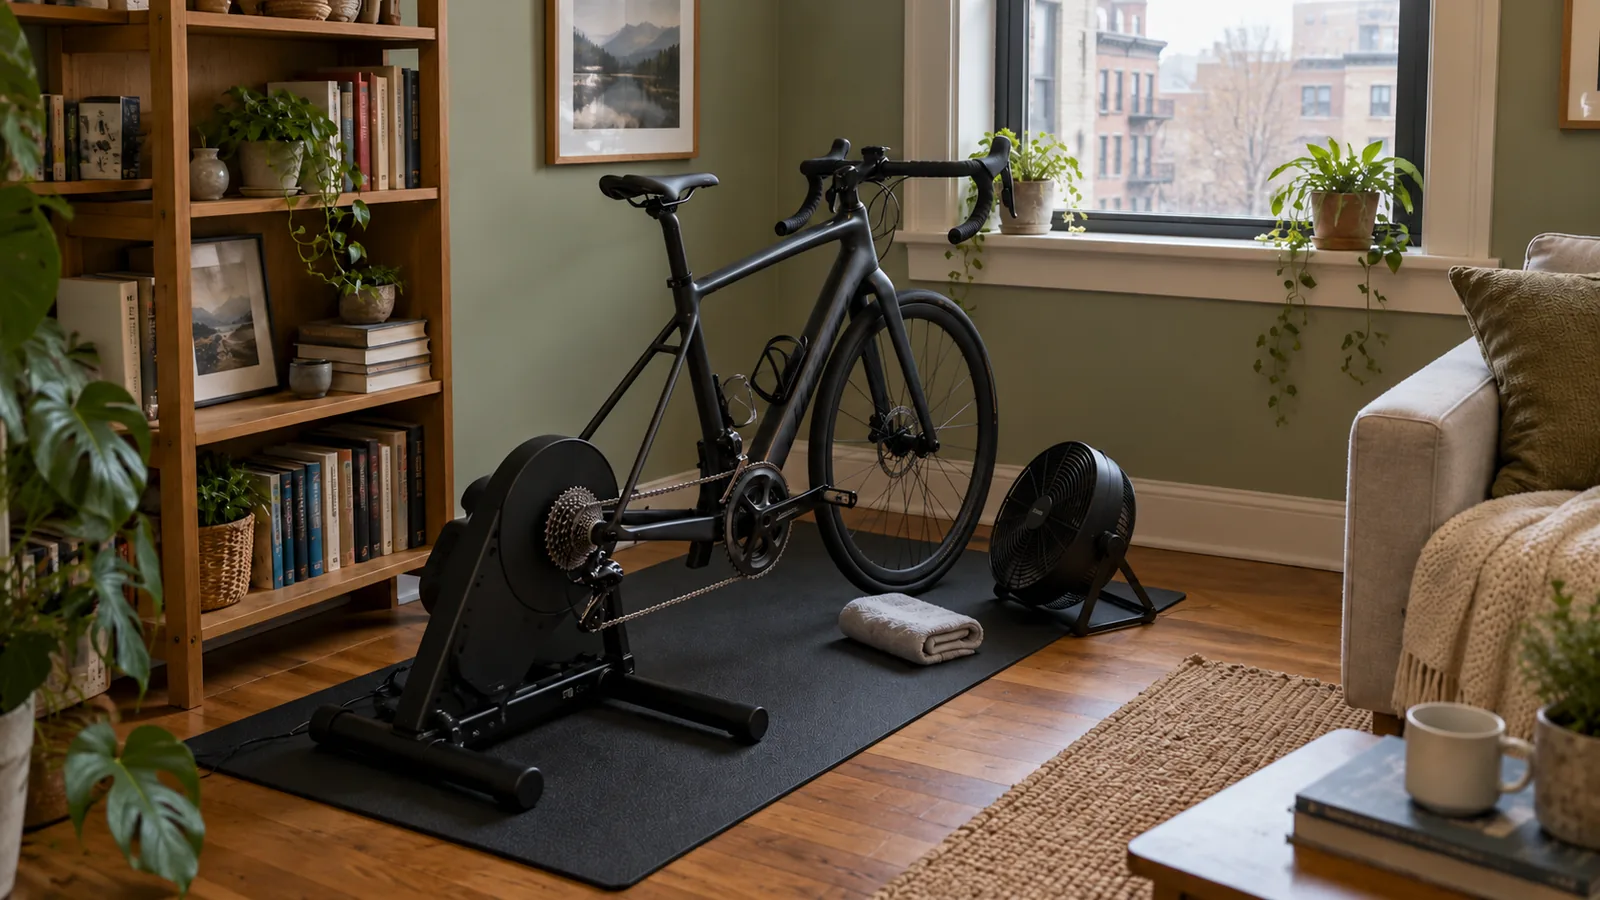
You do not need a dedicated training room to ride indoors. You do need a setup that fits both the ride and the rest of your day. The awkward part is rarely finding space for a bicycle. It is finding space for the bicycle, the trainer's legs, airflow, a screen and your own way in and out.
Start with the room you have. A good small space setup is one you can prepare without a furniture moving project and put away without leaving a damp mat in the middle of the living room. Here is a practical way to plan it before buying another stand.
Measure the space while you are using it
The trainer's folded dimensions are not the riding dimensions. Look up its footprint with all supports in their riding position, then mark out where the bike will sit. Add the front wheel, handlebars, pedals and enough clear space to mount and dismount normally. There is no useful universal minimum because bikes, trainers and riders differ.
Check the room in motion. Can the door open? Can another person walk through without passing beside your moving chain? Can you reach the fan and screen without leaning awkwardly? If the trainer or accessories allow movement, include that range of motion rather than measuring only the resting position.
Use the trainer on the stable, level surface its manual requires. A cramped room is not a reason to leave supports partly folded or balance the trainer on improvised furniture. Keep the manufacturer's required clearance around moving parts and separate the riding area from children and pets.
Choose a layout you can set up from memory
Try the arrangement before committing to furniture. Put the bike and an ordinary chair in the proposed positions, then sit on the bike and see where a screen would be comfortable. You may discover that the existing desk works, or that the attractive corner leaves no sensible place for the fan.
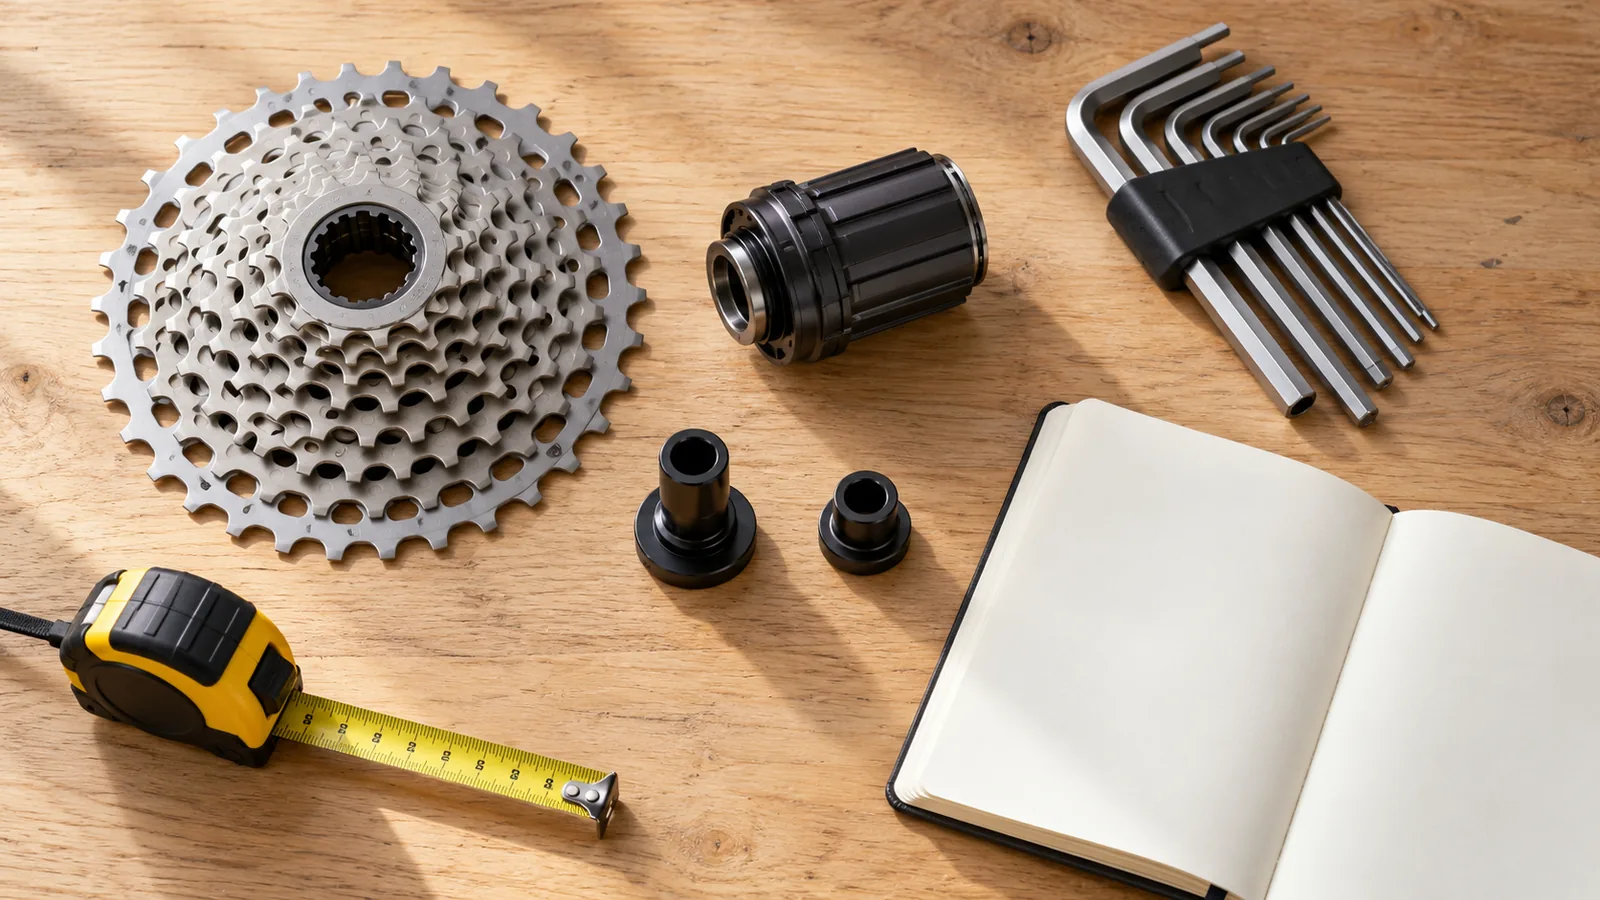
If you remove the rear wheel for a direct drive trainer, give the wheel a designated home too. Store small adapters and the correct brake spacer in one labeled container. The best small room improvement may be knowing where those parts are.
| Room arrangement | A useful approach | The tradeoff |
|---|---|---|
| Bike stays out | Keep the trainer fitted and screen nearby. | Reserve permanent clearance, including access to the bike. |
| Shared living room | Store the fan, cables and towel together. | You need a realistic setup and cleanup routine. |
| Desk beside the bike | Use the desk for a supported screen if the viewing position works. | Keep electronics outside the sweat and bottle spill area. |
| Trainer stored between rides | Check safe lifting, carrying and storage instructions before buying. | Folded size alone does not describe how easy it is to move. |
Give the fan a place before giving the screen a place
A beautiful screen position is not much help if it blocks all your airflow. Aim a suitable fan toward you, test its useful reach from the saddle and keep cables away from pedals and the path you use to get off. Make sure its placement follows the fan's safety instructions, especially around water and loose fabrics.
Then set the screen where you can read it with a comfortable head position. You should not have to crane your neck for an entire ride or reach across a spinning wheel to pause. Use a stable surface or a properly fitted mount. A stack of books can test a viewing height; it is not automatically a secure permanent support.
Before buying a larger display, try the app on your actual device. Everycol's trainer connection needs a supported Bluetooth desktop using Chrome or Edge. A spare phone or television does not replace that supported trainer connection simply because it can display a web page. Work out the device path before arranging the room around it.
Make the end of the ride part of the setup
Keep a clean cloth and a place for the used towel nearby. Follow your bike and trainer care instructions, wipe away sweat as directed, and let the mat and equipment dry before storage. Wahoo's KICKR BIKE care guidance, for example, calls for wiping away moisture after each workout; use the equivalent instructions for your own equipment.
Route the cables once, then make that arrangement easy to repeat. Keep the correct power supply with the trainer, not in an anonymous drawer of similar adapters. If you unplug the setup between rides, follow its shutdown guidance and remove cables before moving equipment.
For your first week, notice which step makes you hesitate. Maybe carrying the trainer is difficult, the screen takes too long to connect, or the fan is stored behind everything else. Fix that specific problem before buying a complete room makeover. The goal is a space that makes an ordinary ride easy to begin.
Your questions, answered
How much room do I need for an indoor trainer?
Measure your assembled bike and trainer with supports fully open, then add the manufacturer's clearances, your mounting space, fan and screen. There is no single safe measurement for every setup.
Can I put a trainer on carpet?
Check the trainer and mat instructions for the surface you have. The assembled setup must remain stable and level, and floor protection must not create instability.
Will a trainer mat stop neighbors hearing my ride?
It may help with some vibration and floor protection, but it cannot guarantee sound isolation. Test the actual setup and consider the fan, drivetrain, building and riding time too.
Sources & useful reading
For compatibility and changing product details, go straight to the source.