Your first indoor trainer setup, without the guesswork
Set up your bike, fan, screen and trainer connection, then make your first indoor ride a simple check that everything works.
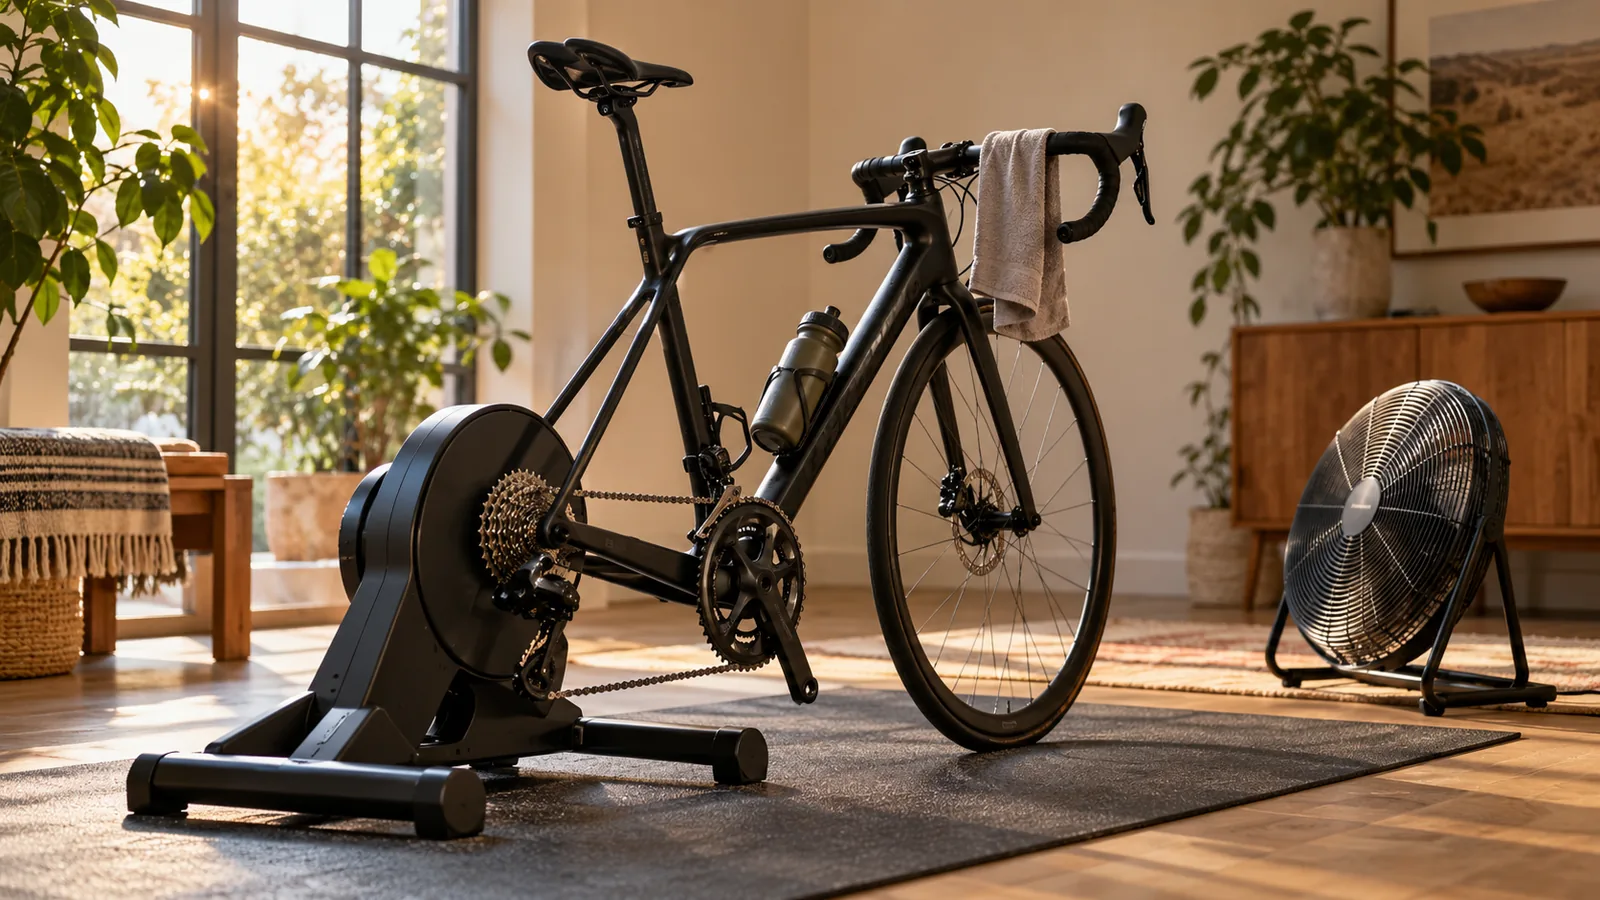
Your trainer has arrived. There are adapters on the floor, a bike waiting nearby and probably an app asking for more permissions than you expected. You do not need to solve the whole winter training plan tonight.
The first job is smaller: build a stable setup, see sensible power readings and finish a short ride with everything working. Save the heroic mountain effort for another day. This checklist gets you from the box to that first comfortable spin.
Set up the room before the bike
Choose a firm, level surface and enough space to get on and off without negotiating furniture. Put the fan where its airflow reaches you on the bike. Position your screen so you can read it while looking ahead, and keep any keyboard or controls within easy reach.
Put a towel and bottle nearby before you start. Route cables away from the crank, trainer and walking path. A mat can protect the floor, but it cannot fix an unstable surface or guarantee that neighbors will not hear vibration. If noise matters, check the setup at a sensible hour before committing to early morning sessions.
Mount the bike using the instructions for your model
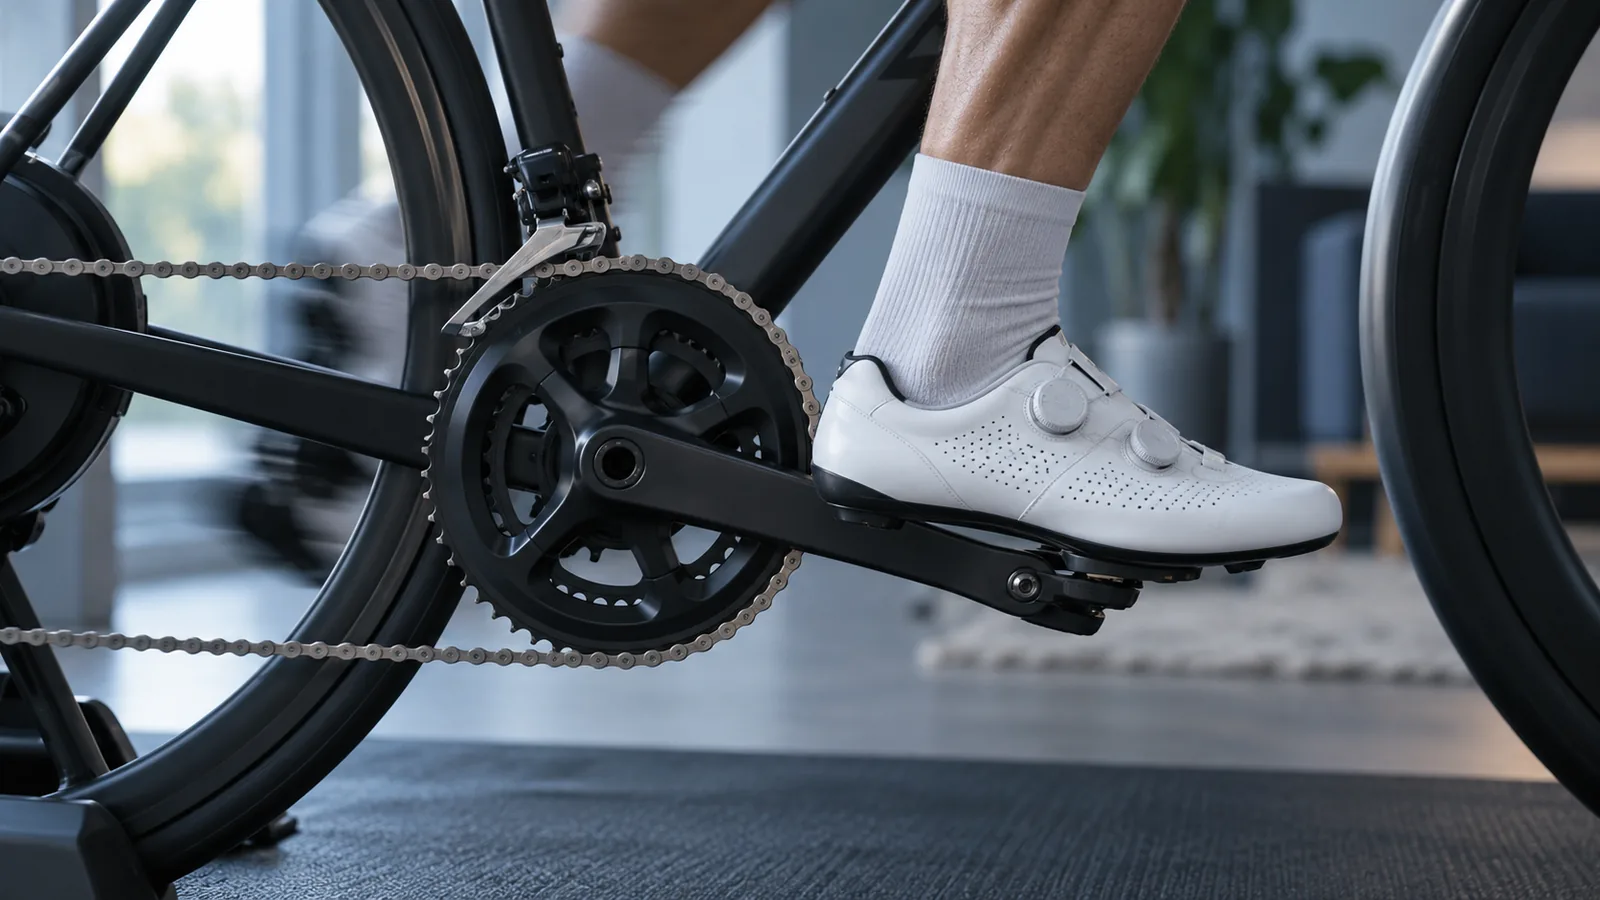
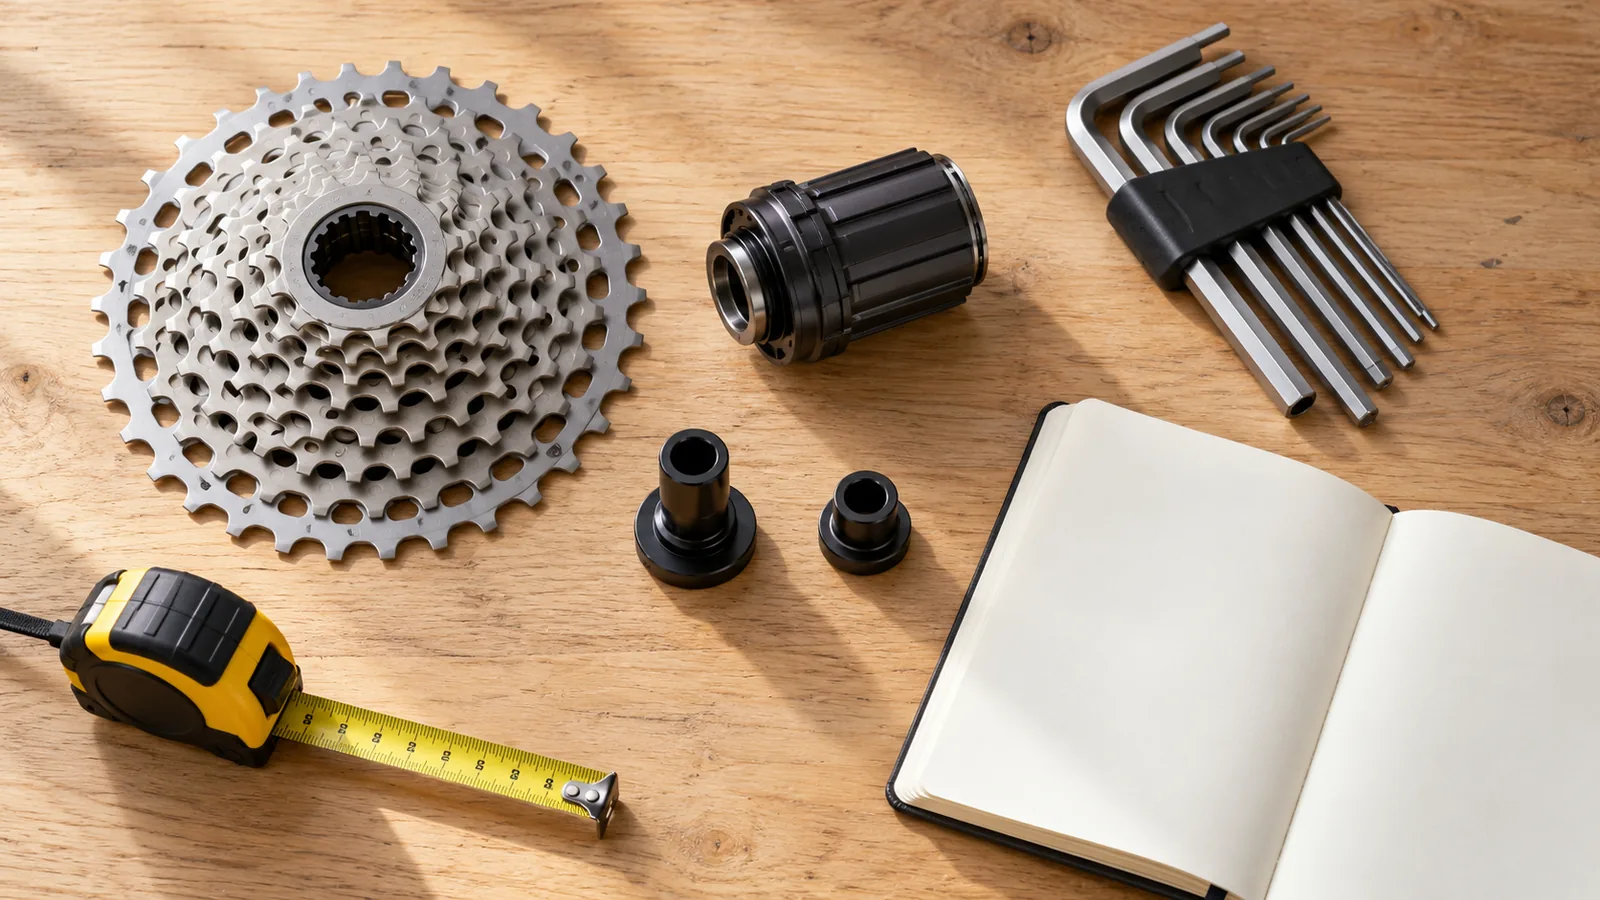
On a direct drive trainer, confirm the axle adapters, cassette and freehub match your bike. Follow the manufacturer’s mounting steps rather than borrowing instructions from a similar looking model. Check that the bike is fully seated, the trainer feet are stable and there is no unexpected frame contact.
On a wheel on trainer, follow its tire pressure, roller tension and calibration guidance. Those settings are part of the setup, not something to guess anew every ride. If you cannot identify a part or the bike does not sit correctly, stop and resolve it before pedaling. An adapter that nearly fits is not the right adapter.
Give the manufacturer’s app its turn first
Use the manufacturer’s app to check firmware and follow the calibration instructions for that exact trainer. Some models calibrate automatically; others have specific procedures. There is no useful universal rule that says every trainer needs a spindown before every session.
Once that job is finished, close the manufacturer’s app before opening your riding app. Also close other cycling apps on nearby devices that may still be connected. Keep one app in charge of resistance while you establish that everything works. You can investigate more elaborate recording arrangements later.
Pair power and control, then check what actually connected
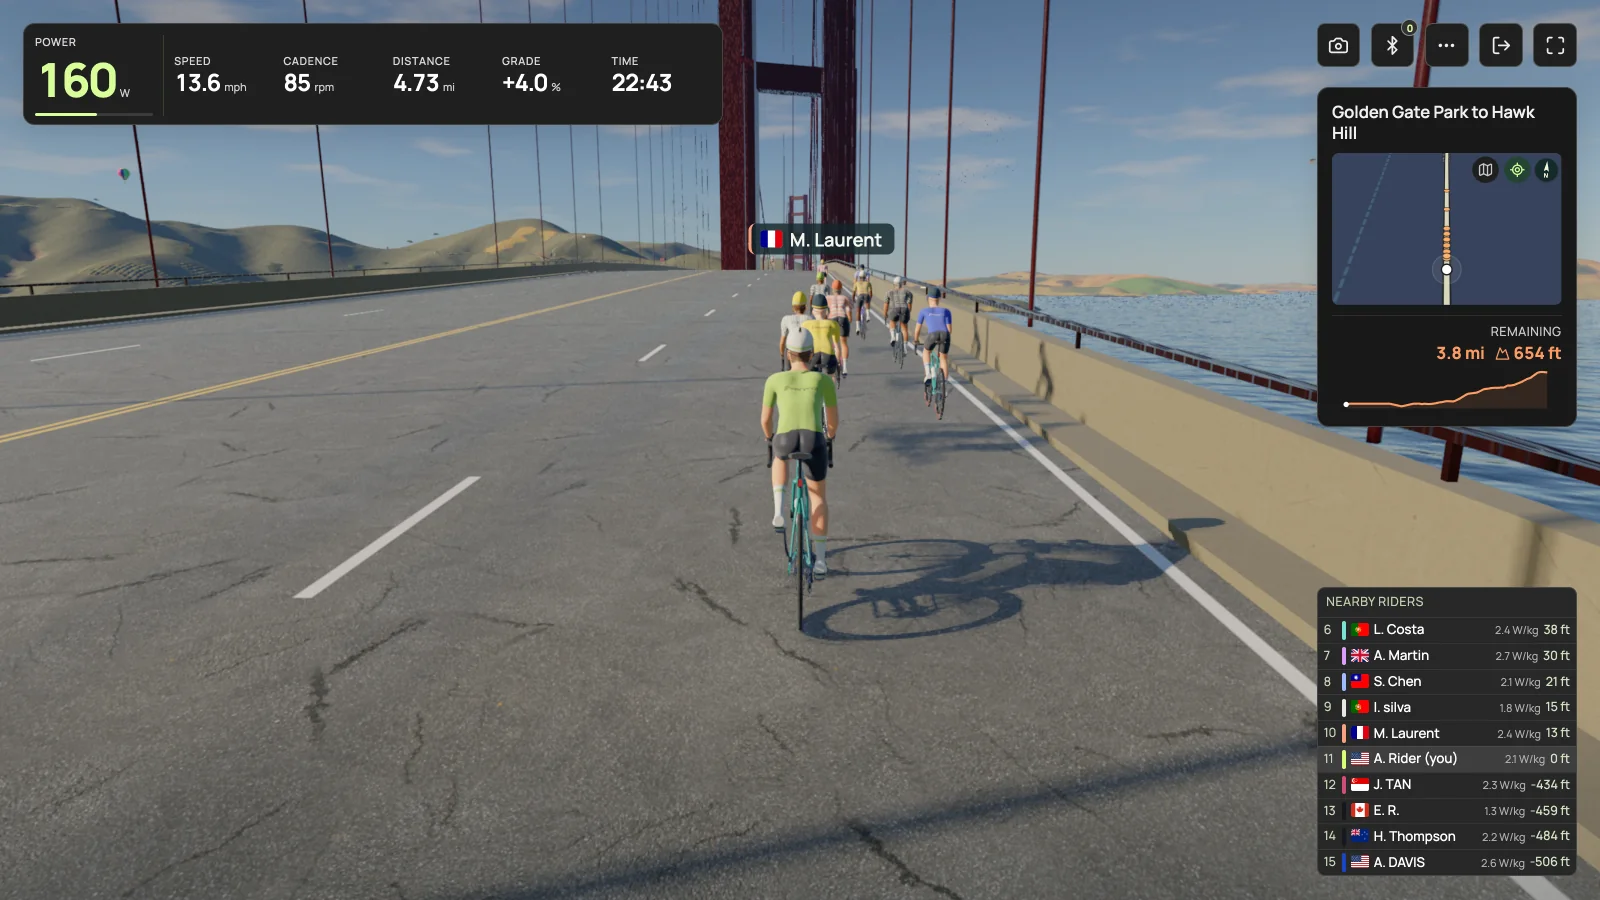
A device name in a list is only the beginning. Pedal gently and confirm that the app sees changing power. Check cadence if your trainer provides it. Then verify that the app has the control capability required for your chosen ride or workout.
In Everycol, the guided setup checks fresh power and the trainer’s advertised ERG or SIM capabilities. Use Chrome or Edge on a supported Bluetooth desktop and allow the browser’s device permission. FTMS and supported Tacx FE-C over Bluetooth are the implemented paths. Model specific hardware validation is still limited, so treat a successful verification on your setup as essential.
Make the first ride a systems check
Choose a short, easy ride you can end whenever you like. Spend a few minutes pedaling comfortably, watching whether the power updates normally and checking that the bike stays stable. Move through a few normal gears if the session uses slope simulation. Listen for rubbing, skipping or a chain line that needs attention.
Then check the small things. Can you reach the stop control? Is the screen too low? Does the fan reach your upper body? Can you take a drink without balancing around a table? These are easier to fix during a relaxed test than halfway through an interval you are determined to finish.
If it does not connect, change one thing at a time
Do not change six settings between attempts. Record the symptom, make one change and try again. If you need support, the trainer model, firmware, device, browser and exact point of failure are much more useful than “Bluetooth is broken.” Never share passwords or raw account tokens.
| What you see | What to check first |
|---|---|
| No trainer in the picker | Power, wake state, device Bluetooth and competing apps. |
| Browser Bluetooth unavailable | Supported browser and device, secure page and OS permissions. |
| Connected but no watts | Pedal, confirm fresh power and check the supported protocol. |
| Watts appear but resistance does not change | Trainer control pairing, supported mode and another app holding control. |
| Connection drops during riding | Distance, interference, device power settings and firmware guidance. |
Leave the next ride ready to start
End the ride through the app’s controls and follow the trainer’s shutdown guidance. Wipe down the bike and nearby surfaces. Leave the fan, towel and screen in positions you liked, or make a quick note of where they go if the room has another job.
The ideal outcome is not an impressive number on day one. It is knowing that you can come back tomorrow, connect and ride without repeating the whole setup exercise. Once that feels easy, choose a route you are curious about or learn how a structured workout uses ERG mode.
Your questions, answered
Should I pair my trainer in the computer’s Bluetooth settings?
Follow your app’s instructions. Everycol uses the browser’s Bluetooth device picker from its trainer setup flow; merely seeing the trainer in operating system settings does not establish app control.
Why can I see power but not feel hills?
Power reception and resistance control are different capabilities. Check that the trainer supports the selected mode and that another app is not controlling it.
Can I set up Everycol on an iPad?
An iPad browser is not a supported path for trainer pairing. Use Chrome or Edge on a supported Bluetooth desktop for a connected trainer ride.
Sources & useful reading
For compatibility and changing product details, go straight to the source.